
I love making Cake pops, so for my first post I wanted to share step - by - step instructions on how to make a basic cake pop. It takes a little practice but once you get the hang of it you'll feel like a pro like the queen of cake pops Bakerella. I am a big fan and love all of her beautiful creations. The best part about making cake pops is watching someone you love bite into one of these little balls of chewy goodness and knowing that their taste buds are doing the happy dance.

The First thing you need to do is get all of your ingredients together........

You need the following ingredients: your favorite flavor of cake mix, (I have a few chocolate lovers at my house) Frosting, lollipop sticks , a Styrofoam block and candy melts (these melts come in a variety of colors). I purchase my sticks and melts at Michael's and I never forget to print my online coupon before heading out. Other ingredients that you might need are: vegetable oil and sprinkles for decorating.

First we need to make the cake, so simply follow the instructions on the back of the box.

Just wanted to add that I love that little hand mixer, we are good friends. We've been together many years.
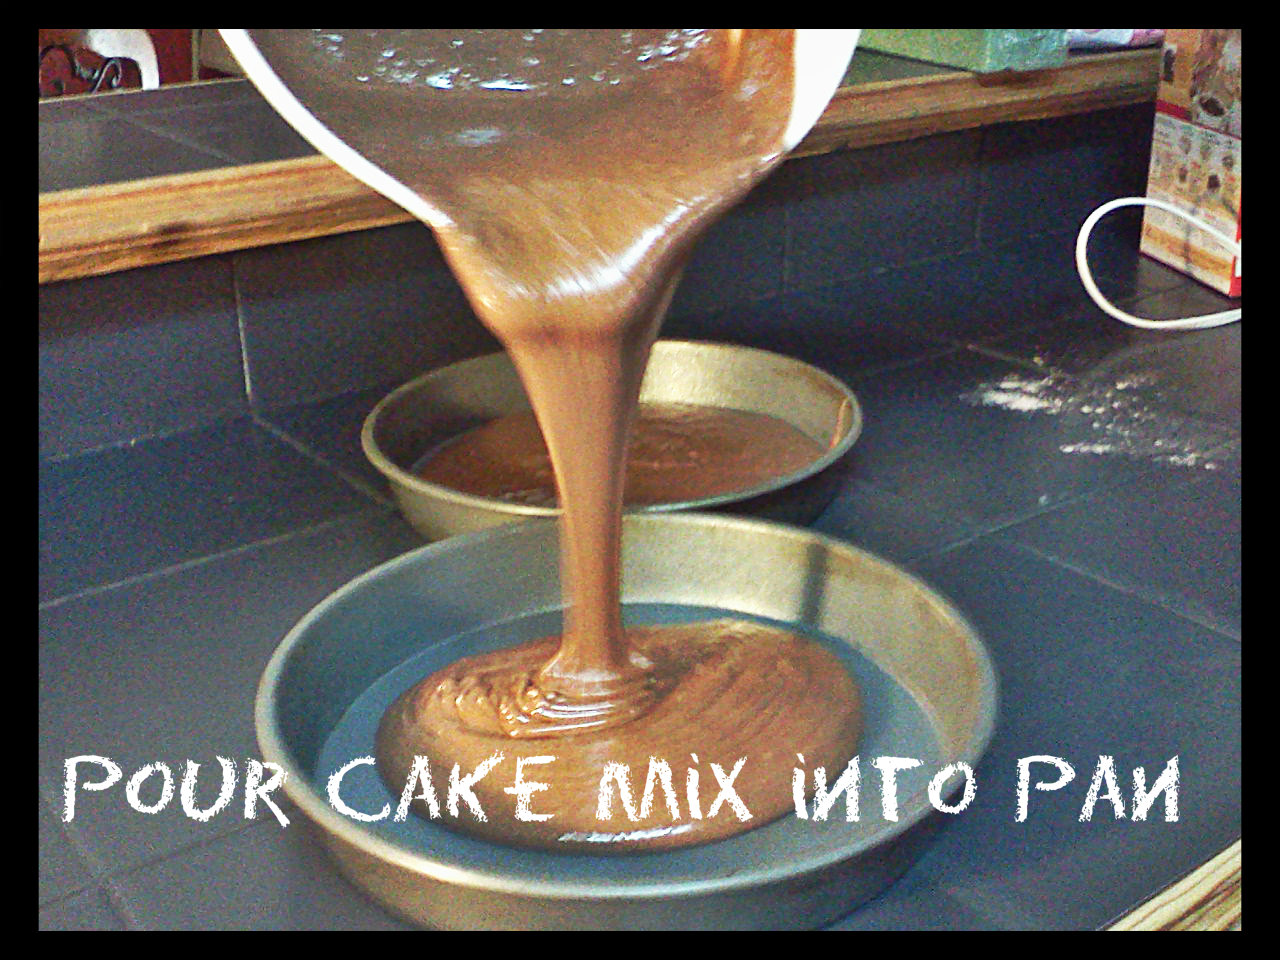
You can use any cake pan, these are the only ones I have that don't stick so that's why I always make round cakes. Don't forget to spray them with a little baking spray. Then just pop 'em in the oven.

This is one of Lydia's favorite part of making cake pops........licking the spoon!

When your cakes are done I know you want to rush into making your cake pops but wait until they are completely cool. If you break up your cake when it's right out of the oven you'll burn yourself....trust me, I know.

This part is so fun, just break your cake into pieces and crumble it up. It makes me feel like a little girl making mud pies.

Crumble it up as fine as you can and take out any lumpy or hard pieces, these will become your enemies when you're dipping the pops.

I added about 1 tablespoon of frosting. It doesn't take too much frosting to get the consistency you want.

First you stir the frosting in with a spoon then you can start kneading it with your hands.

And if it feels like playdough you are ready to start rolling! This is where things start getting fun!!

I wish I had a cookie scooper for this step, that would be awesome but I don't so I use what I have and measure about 1 tablespoon full of cake mixture for one ball. You can make them bigger but this size is good for me.

You see that rolling action I've got going on there!

You can get about 40 little cake pops from one batch if you make them this size.

Pour your chocolate melts in a microwave safe bowl.

When you melt the chocolate melts watch them very carefully......if you burn the chocolate it will leave a very bad burnt smell in your kitchen that will linger for a very long time. Again, trust me, I know.

Stir the chocolate. If it looks a little lumpy and thick that's ok. Just keep on stirring it. It will continue to melt as you stir.


The chocolate might be a little too thick for dipping, so you can add 1/2 a tsp. of vegetable oil to thin it out. If it's still too thick add a little more. I had to do this about 3 times for the pink chocolate.

When I started making cake pops I had a lot of problems with the pop falling off of the stick when I dipped it. So doing this little step helped. Dip the end of your lollipop stick into the chocolate and then stick it in the rolled cake ball.

The chocolate will help the ball and the stick to become one......as they were meant to be. Sometimes they have trouble understanding this.

Next, let the cake balls and sticks hang out a little in the freezer to get them ready for dipping.

The way I do this is I push all my chocolate to one side of the bowl and then I roll the cake pop rather quickly, making sure the chocolate coats all the sides of the pop. I don't dip the whole pop because I usually loose the ball this way. But a quick rotating motion works well for me.

If your going to add sprinkles, now is the time. But if you want to swirl with extra chocolate it's best to wait until the chocolate on the cake pop has hardened. Once you have them all decorated, stick them on your Styrofoam block and let the chocolate harden. I usually put them block and all in the freezer for a little bit (about 5 minutes) because I can't wait.

And finally, here they are!

When my mom would walk into a mess like this she would say, "A limpiar se ha dicho!" meaning, it's time to get cleaning!
Then, the best part of it all.........

I pinned this incredible tutorial! Thanks for sharing this!
ReplyDeleteXo,
Heather P.
Spunky Real Deals
Hi Heather, awesome! If you make any cake pops let me know how they come out.....thanks for pinning :)
DeleteLiz
I just pinned this too. Cake lollipops are really nice and pretty. Please share this post at our Pin It Monday Linky Party. We'd love to have you their.
ReplyDeleteHere is the link:
http://pursuitoffunctionalhome.com/2013/08/live-pin-it-monday-22.html
Judy
Thank you Judy for pinning! Looking forward to Monday's link party :)
DeleteLiz